How to Analyze Running Form

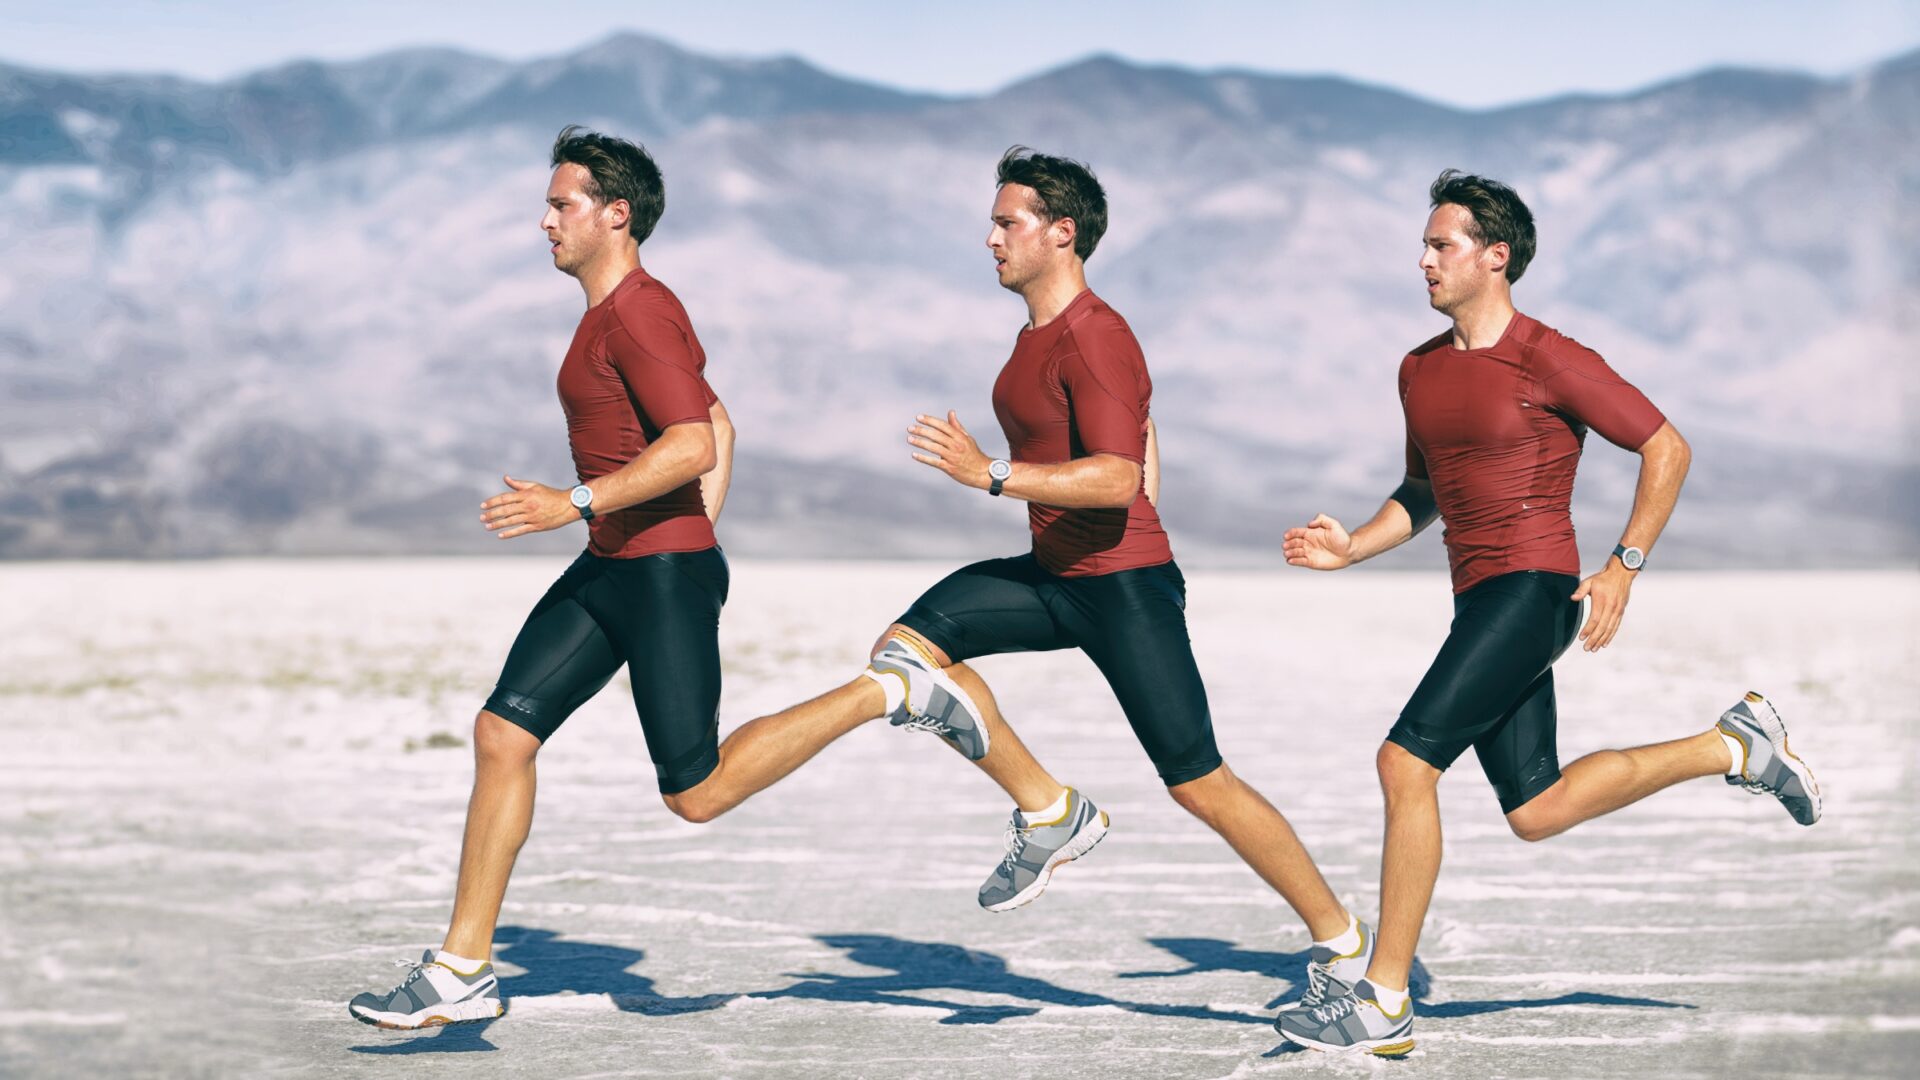
Performing a gait analysis may be necessary to troubleshoot recurring injuries or improve run speed.

Composite image of 3 different points of a man running across salt flats
Photo: Shutterstock.com/Maridav

When it comes to running, there are a lot of strong opinions on how to do it. For an activity that we learn naturally as we grow up, there are a remarkable number of messages, theories, and myths on what the right way to run is.

One of the most ubiquitously discussed running topics is form: Should you have a heel strike or a forefoot strike? What should you look out for that might mean you or your athlete is at risk for injury?

There is a lot of complexity in how to analyze running form. That said, there are some simple rules to follow that can give you some clear-cut answers. Let’s break down the basics: how to look at gait, what to look for, and what you can do about it. 

Running biomechanics basics

For the scope of this article, we’re going to focus on the “big picture” moments of a running gait cycle. 

Graphic showing the different phases in the running cycle.

Gait cycles are measured from the point a foot initially touches the ground to when it reaches the ground again. When the foot is planted on the ground, it’s in the Stance Phase. When the leg is moving through the air, it’s called the Swing Phase.

To successfully run, you have to have the ability to decelerate forces onto your stance leg and then use power to push off that leg, propelling your body forward.

A majority of the motion is done on one leg. This means when you contact the ground, your body is absorbing up to 250% of your body weight through your stance limb. [2] While one limb is on the ground, the rest of your body is working hard to adjust and counter the impact and asymmetrical loading. [2]

Keep that in mind as we navigate how to analyze someone’s gait. 

How (and when) to set up a gait analysis

Beyond being a fun way to pass time, it might be time for you or your athlete to seek out an assessment on their running form if one of the following is true:

  • You’ve seen recurring injury in the same body area.
  • Regardless of training, the athlete can’t seem to improve on sprint speed.
  • The athlete notices a niggle and can “fix” it.

Once you’ve decided a gait analysis is warranted, you will need:

  1. A slow-motion camera (most phones have this). You will need to record the runner (or yourself) from behind for at least 30 seconds and from the side for another 30 seconds. Both of these sagittal and frontal planes are needed to get a true picture of running gait.
  2. A treadmill or someone to chase the athlete. There are pros and cons to using a treadmill. The big pro is that you can record a clean, stable clip, but you should also consider that treadmill running can change running mechanics (albeit minimally). There could be small changes in footstrike, sometimes seen as a lower foot-ground angle and increased knee flexion angle at foot contact with a reduced amount of hip flexion. [1]

RELATED: Knee Health Pathway

How to analyze gait

We can’t address every possible element of analysis here, but with these basics you’ll be able to determine if a more robust exam is needed. 

Remember, every runner is different. Limb lengths, muscle strength, and genetics all play a role in how someone moves. Compare your runner to themselves and some general principles, but don’t hold all runners to one “gold standard” of running form. 

Look for asymmetry

You’d be amazed what you can find if you take your time. The clinician approach is to record the runner from the frontal (posterior) and sagittal planes, then assess each joint, one at a time. 

There’s a lot to unpack here. But if you look carefully at each joint, you’ll be amazed at what you can discover. Try not to draw conclusions from asymmetry initially; just write down what you see, joint by joint.

Sagittal (side) view

  1. Trunk should be tilted slightly forward. If the runner seems incredibly upright or leaning backward, make a note. This could cause an increase on loading forces through the knee.
  2. Hips should go from approximately 55 degrees of hip flexion in front of the body to hyperextension (past neutral) to 10 degrees. Pause the video at the apex of hip flexion for each side. If the angle between the knee, hip, and trunk doesn’t look relatively even side to side, make a note. 
  3. Knees should be slightly bent at landing.
    • Watch the video and pause it—first, when each knee is at its most bent position during the swing phase. Does it look even on both sides?
    • Now watch the stance limb. Is the knee slightly bent, or does it collapse substantially? The knee should be slightly bent to absorb shock.
    • Watch the video twice more, this time pausing when each knee is completely extended behind the body. Did each knee get almost completely straight? If not, make a note. This is a way to assess the hip, too.
  4. See what part of the foot hits the ground first. Is it the forefoot or the heel? Keep that in mind and, of course, check for symmetry on the other side. If the heel of the foot is landing first, look up the chain: Is their foot in front of their body at this initial contact? This means the runner is overstriding, and it can increase their risk of tibial stress reactions. [3]

Frontal (posterior) view

  1. Look at the base of support. If the runner’s feet are landing extremely close together (picture someone walking on a tightrope…then picture them running), this could increase their risk of lateral hip and knee injuries. [3]
  2. Look at the bottom of the foot. If you see a “heel whip” (the turning in or out of the heel-to-toe angle during the swing phase), make a note. This likely means somewhere in the kinematic chain there’s not enough flexion, and the difference is made up here. [3]
  3. Look at the hips. Focusing on one hip at a time, watch to see how much the hip moves up and down during a gait cycle. While clinically important on its own, comparing one hip to the other is an easy way to see if there’s “hip drop” on one side. This indicates excessive hip adduction and increases risk of injury. [3]

While there are some more elements from each perspective that are integral to a physical therapist’s evaluation, this short list can give you a clear picture of how symmetrical the runner is, and if there are any glaring concerns that require more substantial intervention.

Put it all together

Take a look at your notes. If you marked down three or more asymmetries, I recommend you check with your physical therapist about next steps.

Gait analyses can be overwhelming, and there’s always room to get more granular. Once you break down each movement by joint, zoom out for a moment and answer these questions:

  1. How noisy was your runner on the treadmill? If each footfall caused a rattle on the treadmill, make a note. 
  2. What was the step cadence? Count how many footfalls your runner has during your 30-second recording and multiply the number by two. If the cadence is under 160 steps per minute, they’re at a higher risk of injury! [4]

Cues to improve running form

After you’ve performed a gait analysis, now what? There’s good news and bad news here. Where a PT could be helpful is by using their training to suggest external and internal cues for a runner to consider while performing. Additionally, manual and exercise interventions can be applied to improve a runner’s motor control during activity. 

In general, I don’t recommend cueing yourself or your runner to “be more symmetrical.” What you can consider doing, though, is using these global cues to improve on general mechanics:

  • Run softer. Encourage your runner to listen to their strides. Purely by cueing an auditory change, studies show that ground reaction forces through the stance limb can substantially decrease and you often see an improvement in joint mechanics. [3]
  • Step to the beat. Have an athlete listen to a metronome and aim to step with every beat. By increasing cadence by 5-10%, knee- and hip-loading forces can be substantially reduced. While you don’t want to throw too many cues to your runner at once (and consider small cadence changes initially), this can be an excellent way to focus on loading mechanics that can improve single-leg stability during long runs. [4]

RELATED: Bobby McGee’s 3 Tips for Improving Run Form

From this article, I hope you feel comfortable with breaking down a runner’s mechanics. Without a goniometer or excessive analysis, the goal is to find any glaring problems that might need further assessment.

Intervention-wise, start with global recommendations that influence the gait cycle as a whole (for example, cadence or sound). If an asymmetry persists, ask your local PT for tips on how to cue the runner to improve their form. 

References

  1. Van Hooren B, Fuller JT, Buckley JD, Miller JR, Sewell K, Rao G, Barton C, Bishop C, Willy RW. Is Motorized Treadmill Running Biomechanically Comparable to Overground Running? A Systematic Review and Meta-Analysis of Cross-Over Studies. Sports Med. 2020 Apr;50(4):785-813. doi: 10.1007/s40279-019-01237-z. PMID: 31802395; PMCID: PMC7069922.
  2. Baker R. Gait analysis methods in rehabilitation. J Neuroeng Rehabil. 2006 Mar 2;3:4. doi: 10.1186/1743-0003-3-4. PMID: 16512912; PMCID: PMC1421413.
  3. Souza RB. An Evidence-Based Videotaped Running Biomechanics Analysis. Phys Med Rehabil Clin N Am. 2016 Feb;27(1):217-36. doi: 10.1016/j.pmr.2015.08.006. Epub 2015 Oct 20. PMID: 26616185; PMCID: PMC4714754.
  4. Wang J, Luo Z, Dai B, Fu W. Effects of 12-week cadence retraining on impact peak, load rates and lower extremity biomechanics in running. PeerJ. 2020 Aug 24;8:e9813. doi: 10.7717/peerj.9813. PMID: 32904121; PMCID: PMC7450991.